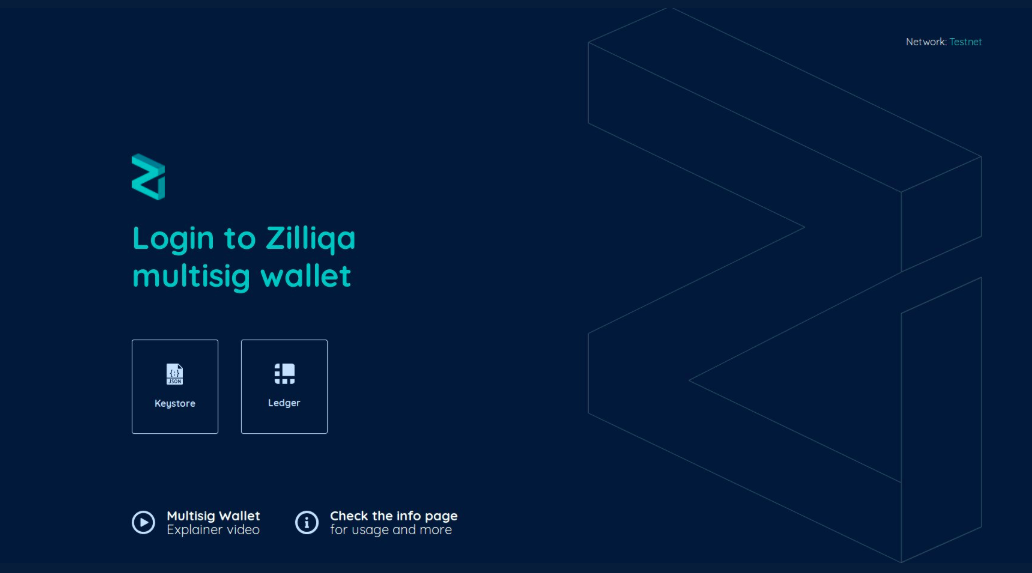
Help test the new Zilliqa multisig wallet!
Today, we are delighted to share the fully-functional beta-version of the wallet. It is available here for you to try out: https://multisig-test.web.app. Please help the developer test it.

Hello folks,
As you may know, one of the Zilliqa community members has been working on a multisig wallet backed by a Scilla contract. We had earlier shared with you a mock design setup for the wallet. Thanks to all who shared their feedback. Much appreciated!
Today, we are delighted to share the fully-functional beta-version of the wallet. It is available here for you to try out: https://multisig-test.web.app. Please help the developer test it.
You can try it out directly on the testnet by following the steps given below:
TESTING SETUP:
- Create three wallets (say A, B, C) using the dev wallet: https://dev-wallet.zilliqa.com/generate and store the corresponding keystore files on your machine.
- Request testnet ZILs for these addresses via the faucet: https://dev-wallet.zilliqa.com/faucet. You may need to convert your address from the hexadecimal format (
0x1b2..) to the new checksum address (that starts withzil). For this, you may use the tool available here: https://www.coinhako.com/zil-check.
MULTISIG WALLET DEPLOYMENT:
3) Login to the multisig wallet portal using the keystore for address A (from Step 1 above). Deploy a multisig wallet in a 2 out of 3 mode (i.e., funds from the multisig wallet can be transferred only when 2 out of 3 wallets have signed off). Make sure that you have selected Testnet as the network. You can choose the network on top right of the multisig interface. Use addresses corresponding to A, B and C (from Step 1) as the owner of the multisig wallet. Owners are the ones who can sign off a payment. Once deployed, save the multisig contract address for further testing.
4) Once the multisig wallet is deployed, you will have to add funds to the contract. For this, go to the multisig wallet interface and click Add Funds button from the right-hand panel. You may add say 10 ZIL to the multisig wallet using the funds from address A. For this, you must be logged in the multisig wallet with account A. Do not transfer ZILs to the multisig wallet from other wallets such as Moonlet or Zillet. It won’t work.
MOVING FUNDS OUT OF THE MULTISIG WALLET:
5) Let’s say you want to pay 5 ZILs to account C (from Step 1) via the multisig wallet. In order to do this, log in the multisig wallet using account A. And click Transaction from the right-hand panel. Fill in the recipient address and the amount and send the transaction.
6) Since it is a multisig wallet, any transfer of money from the wallet will require 2 out of 3 sign offs. Since A submitted the transaction, it is counted as a sign off. We now need either B or C to sign off.
7) Log in to the multisig wallet using account B, import the multisig wallet by providing the multisig wallet address (from Step 3.) Once the wallet is imported, you can click sign to sign of this transaction. Do check the transaction details.
8) Once the two signatures are obtained, you can use account B to execute the transaction. Execution is the final step in the transfer process and it will transfer 5 ZILs to C.
Happy testing! If you find any issues during the process, please report it on https://github.com/micovi/zilliqa-multisig-wallet/issues. If any genuine issues are found, you can be rewarded!
For further information, connect with us on one of our social channels:
