Getting started with WEB3WAR
From installation to jumping into your first match, this simple guide will help you to get WEB3WAR up and running in no time.

Welcome to WEB3WAR!
Powered by Zilliqa, WEB3WAR is a multiplayer first-person shooter that is the first of its kind and offers an adrenaline rush unrivaled by any of its peers.
But how does a game on the blockchain work? How can you get started? What is it even about?
From installation to jumping into your first match, this simple guide will help you to get WEB3WAR up and running in no time.
What is WEB3WAR?
WEB3WAR is a high-performance multiplayer shooter that offers an exciting gameplay experience with unique Web3 elements, with cosmetic skins and other inventory items secured by the Zilliqa blockchain.
WEB3WAR rewards players who excel in fast-paced first-person shooter action and can adapt to a large range of maps and game modes. In future, your in-game achievements will earn you in-game currency, FPS tokens, which can be used to purchase cosmetic skins for weapons, characters, and more.
Players have complete control over the digital assets they have purchased, earned, or traded. These in-game items such as cosmetic skins can be purchased, traded, or earned through gameplay.
WEB3WAR is designed for fans of the FPS genre, offering a range of game modes, extensive weapon customisation, gear progression, high-quality maps, and balanced game mechanics.
Installing the FUS1ON Gaming Hub and downloading WEB3WAR
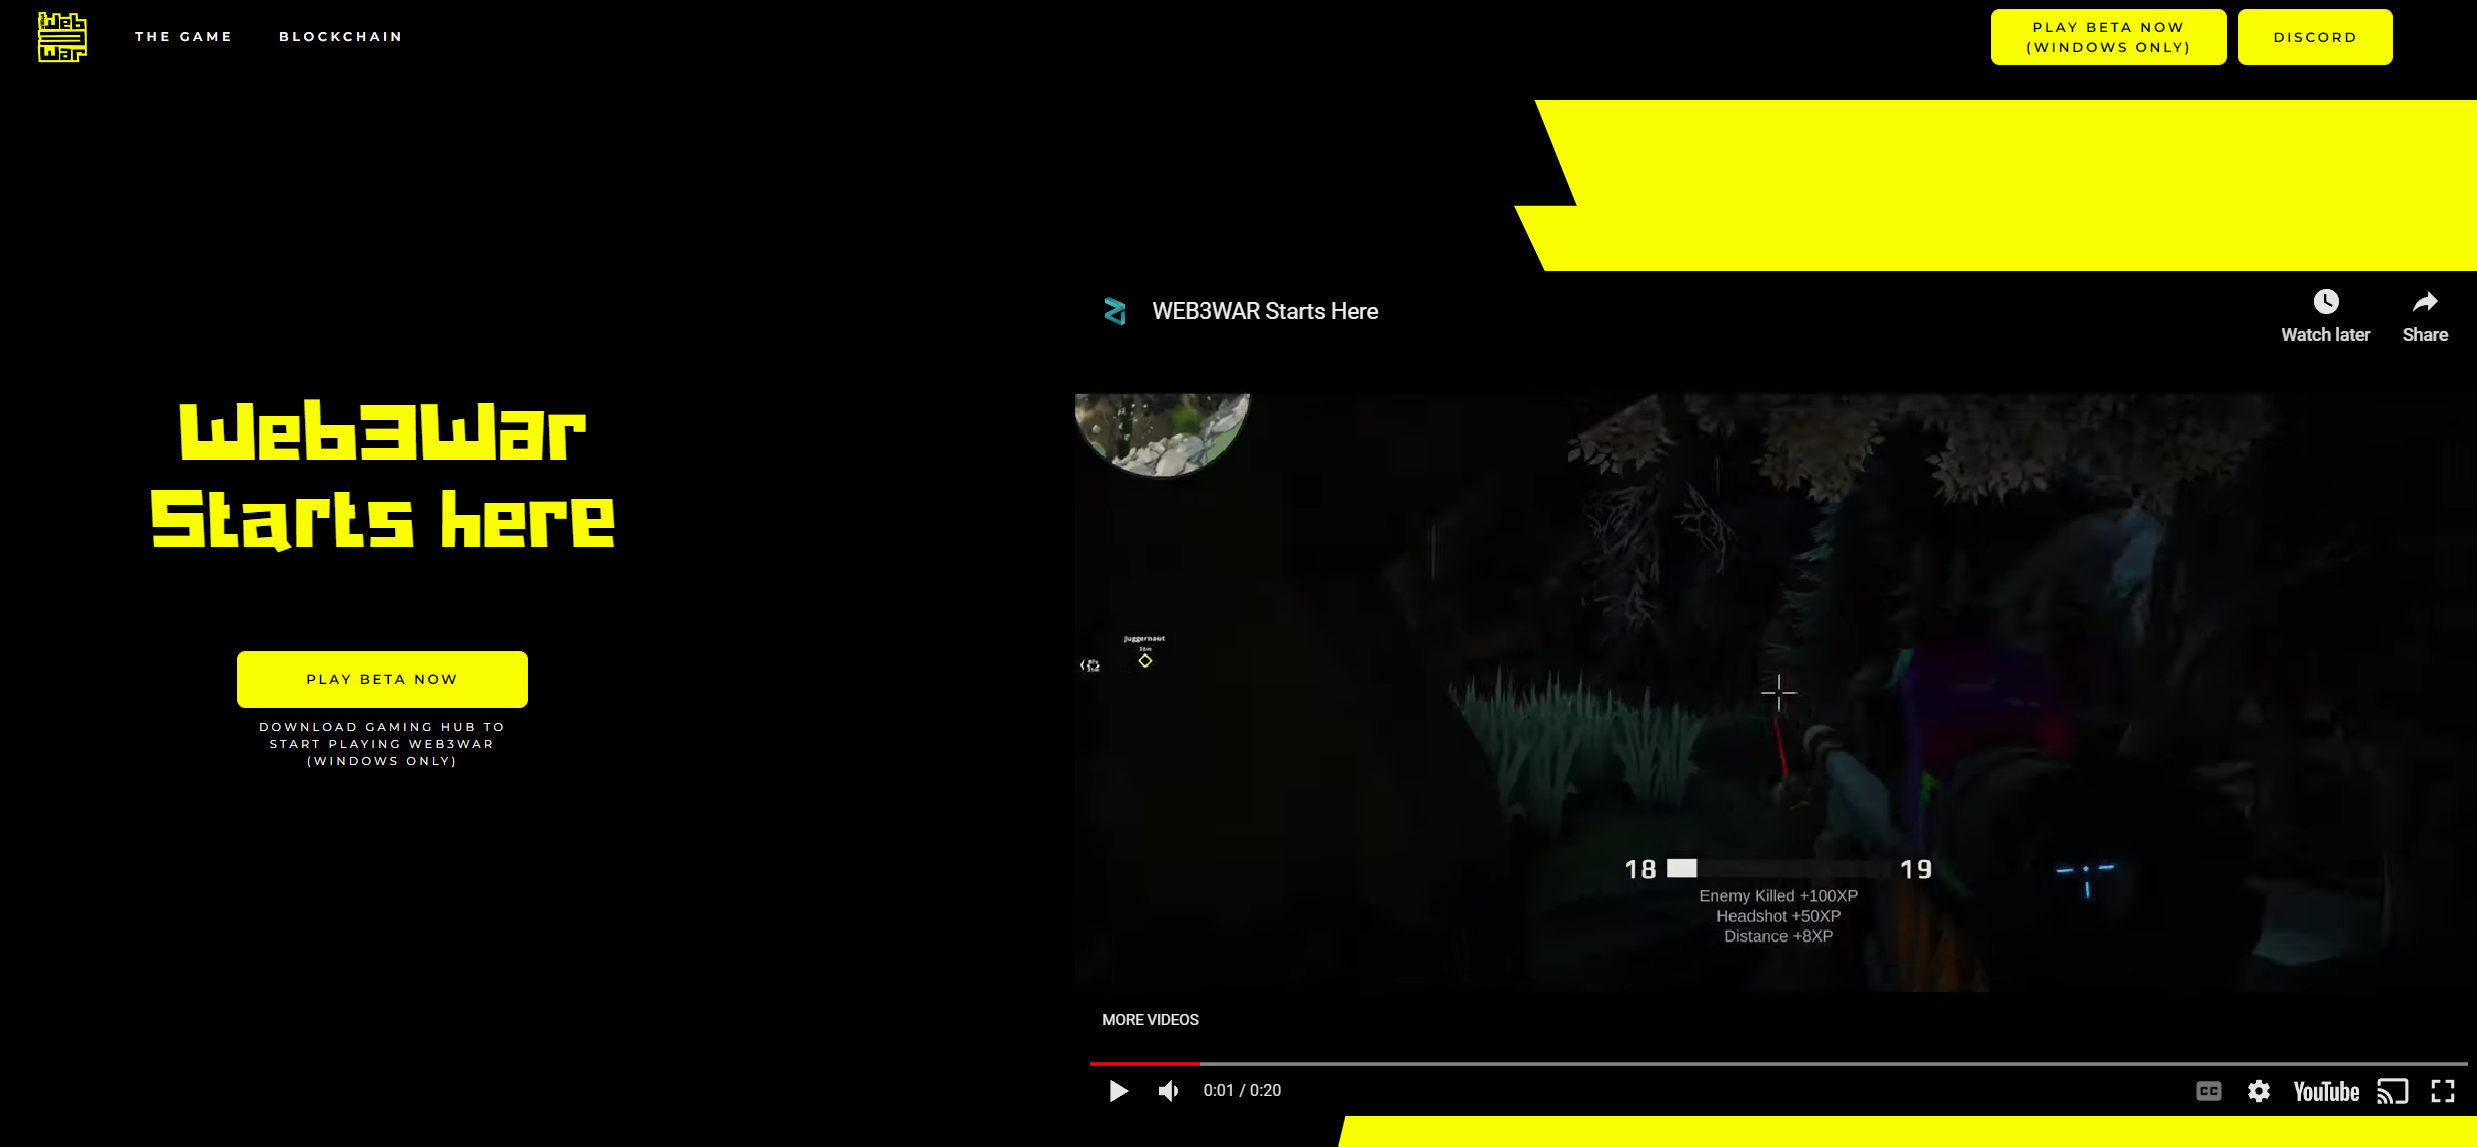
The WEB3WAR public beta is currently only available for Microsoft Windows, but more platforms will be supported in future.
To install the game, first head over to w3w.game and click on Play Beta Now in the main page to download the FUS1ION Gaming Hub launcher.
Once the launcher file has been downloaded, simply run the application and be patient while the software is installed.
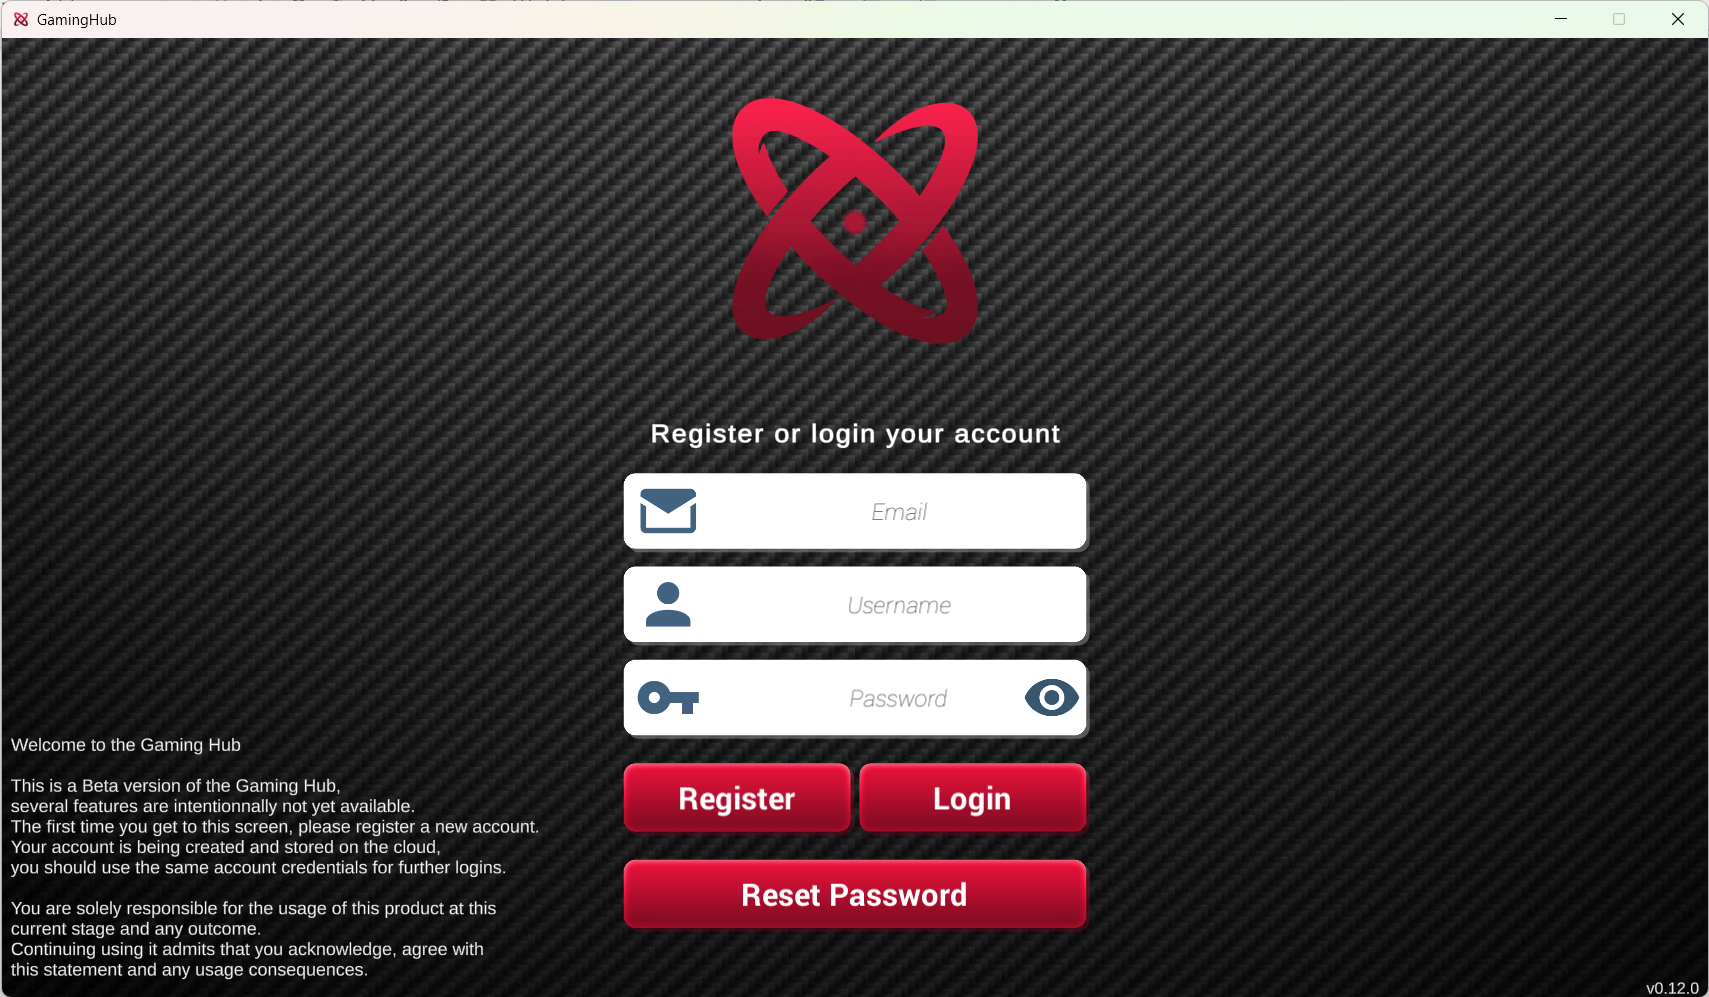
Registering an account and launching WEB3WAR
After opening the launcher, you will be able to register for your account at this screen. You will see Registration Successful on the right side of the screen once you have signed up.
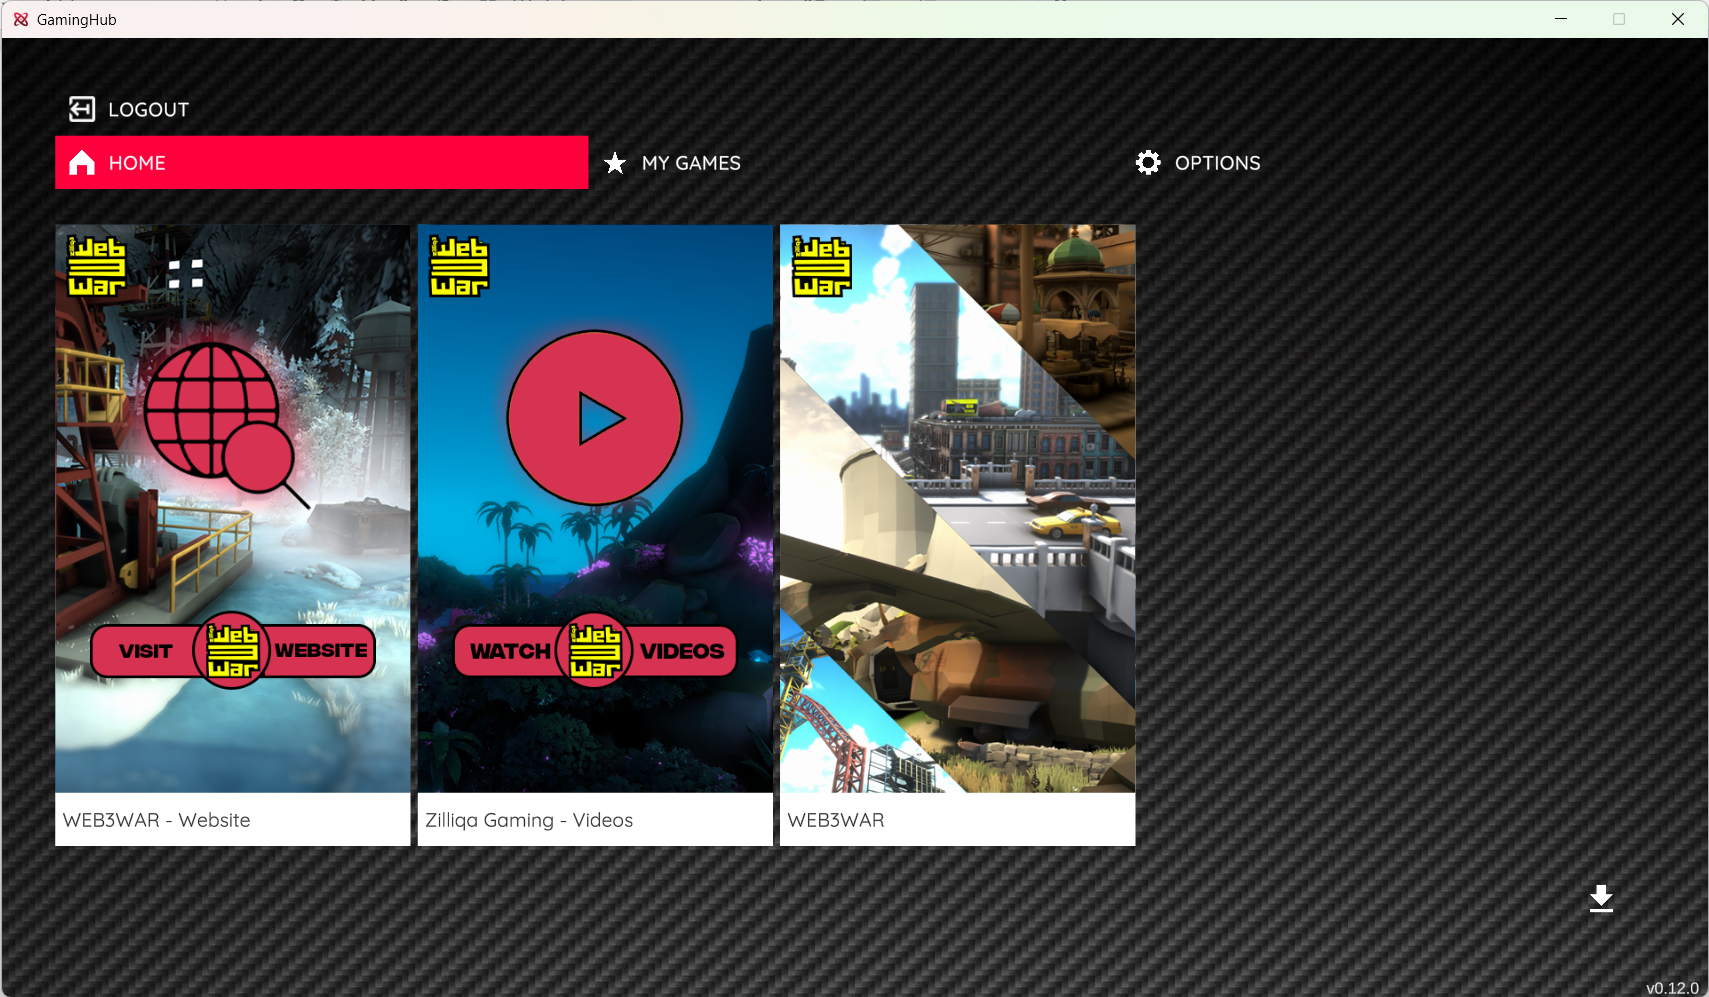
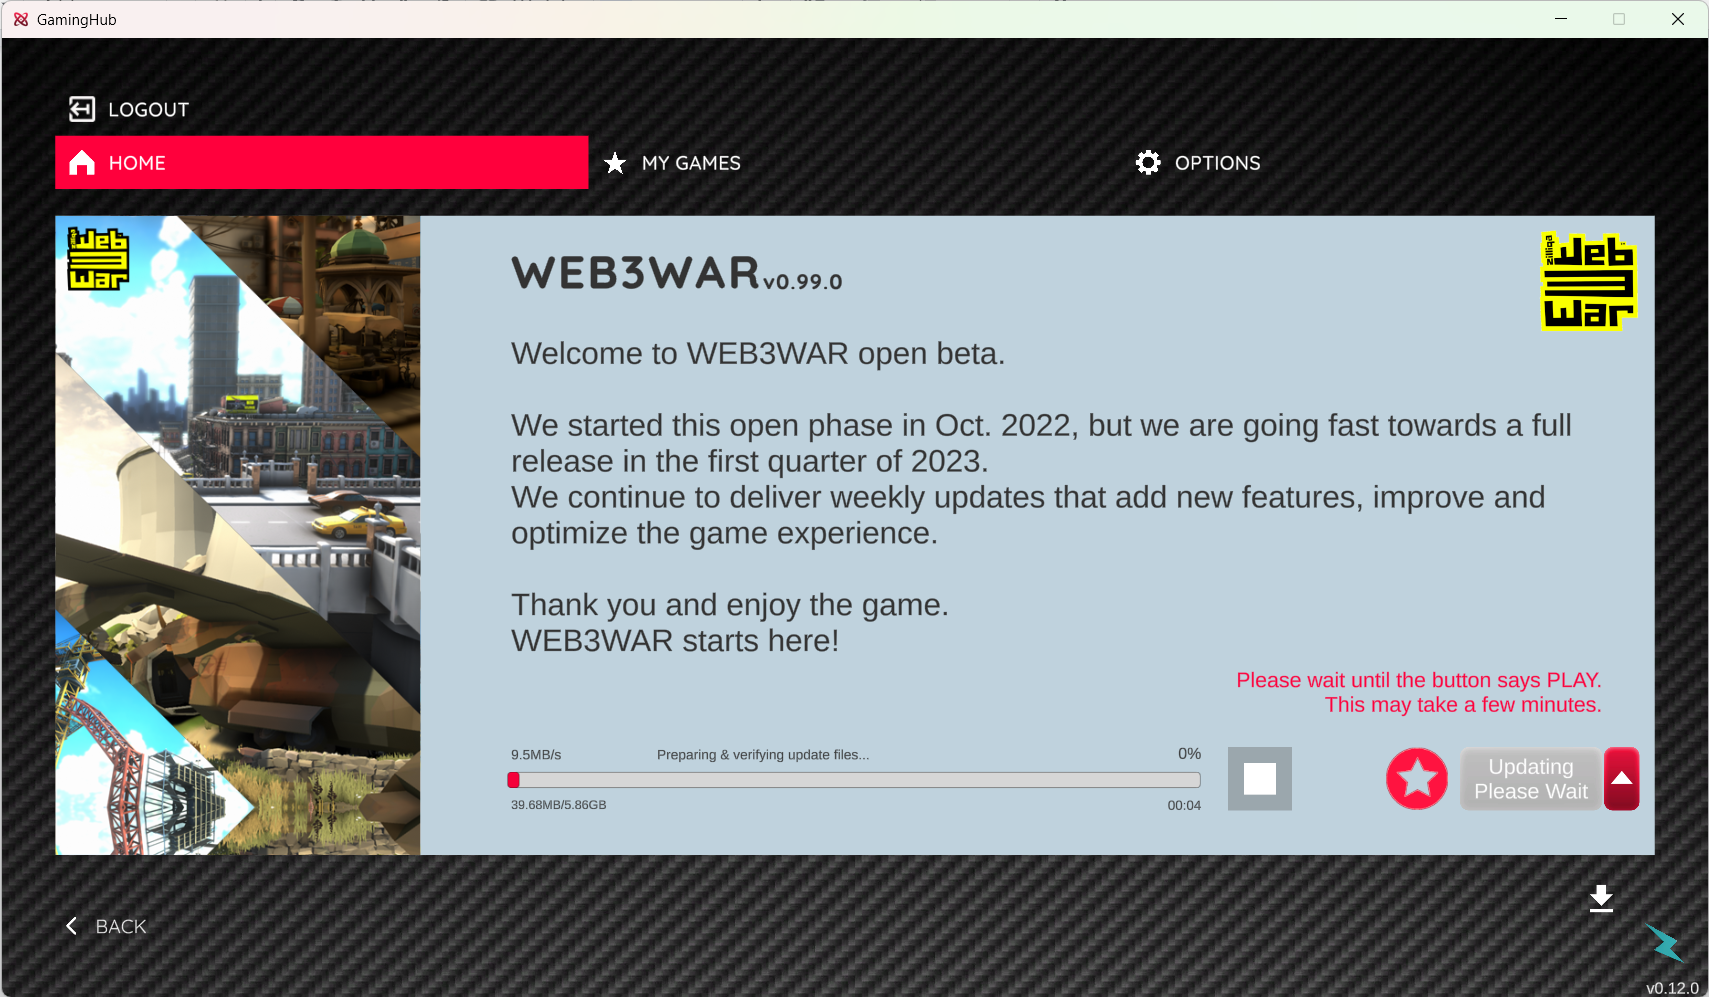
After logging in, you will be presented with the launcher interface, which lists supported Web3 games. Select WEB3WAR here and click on Install to install the game on your PC.
This button will change to Play once the game has been downloaded. Click the Play button to fire up WEB3WAR and start playing!
Settings and customisation
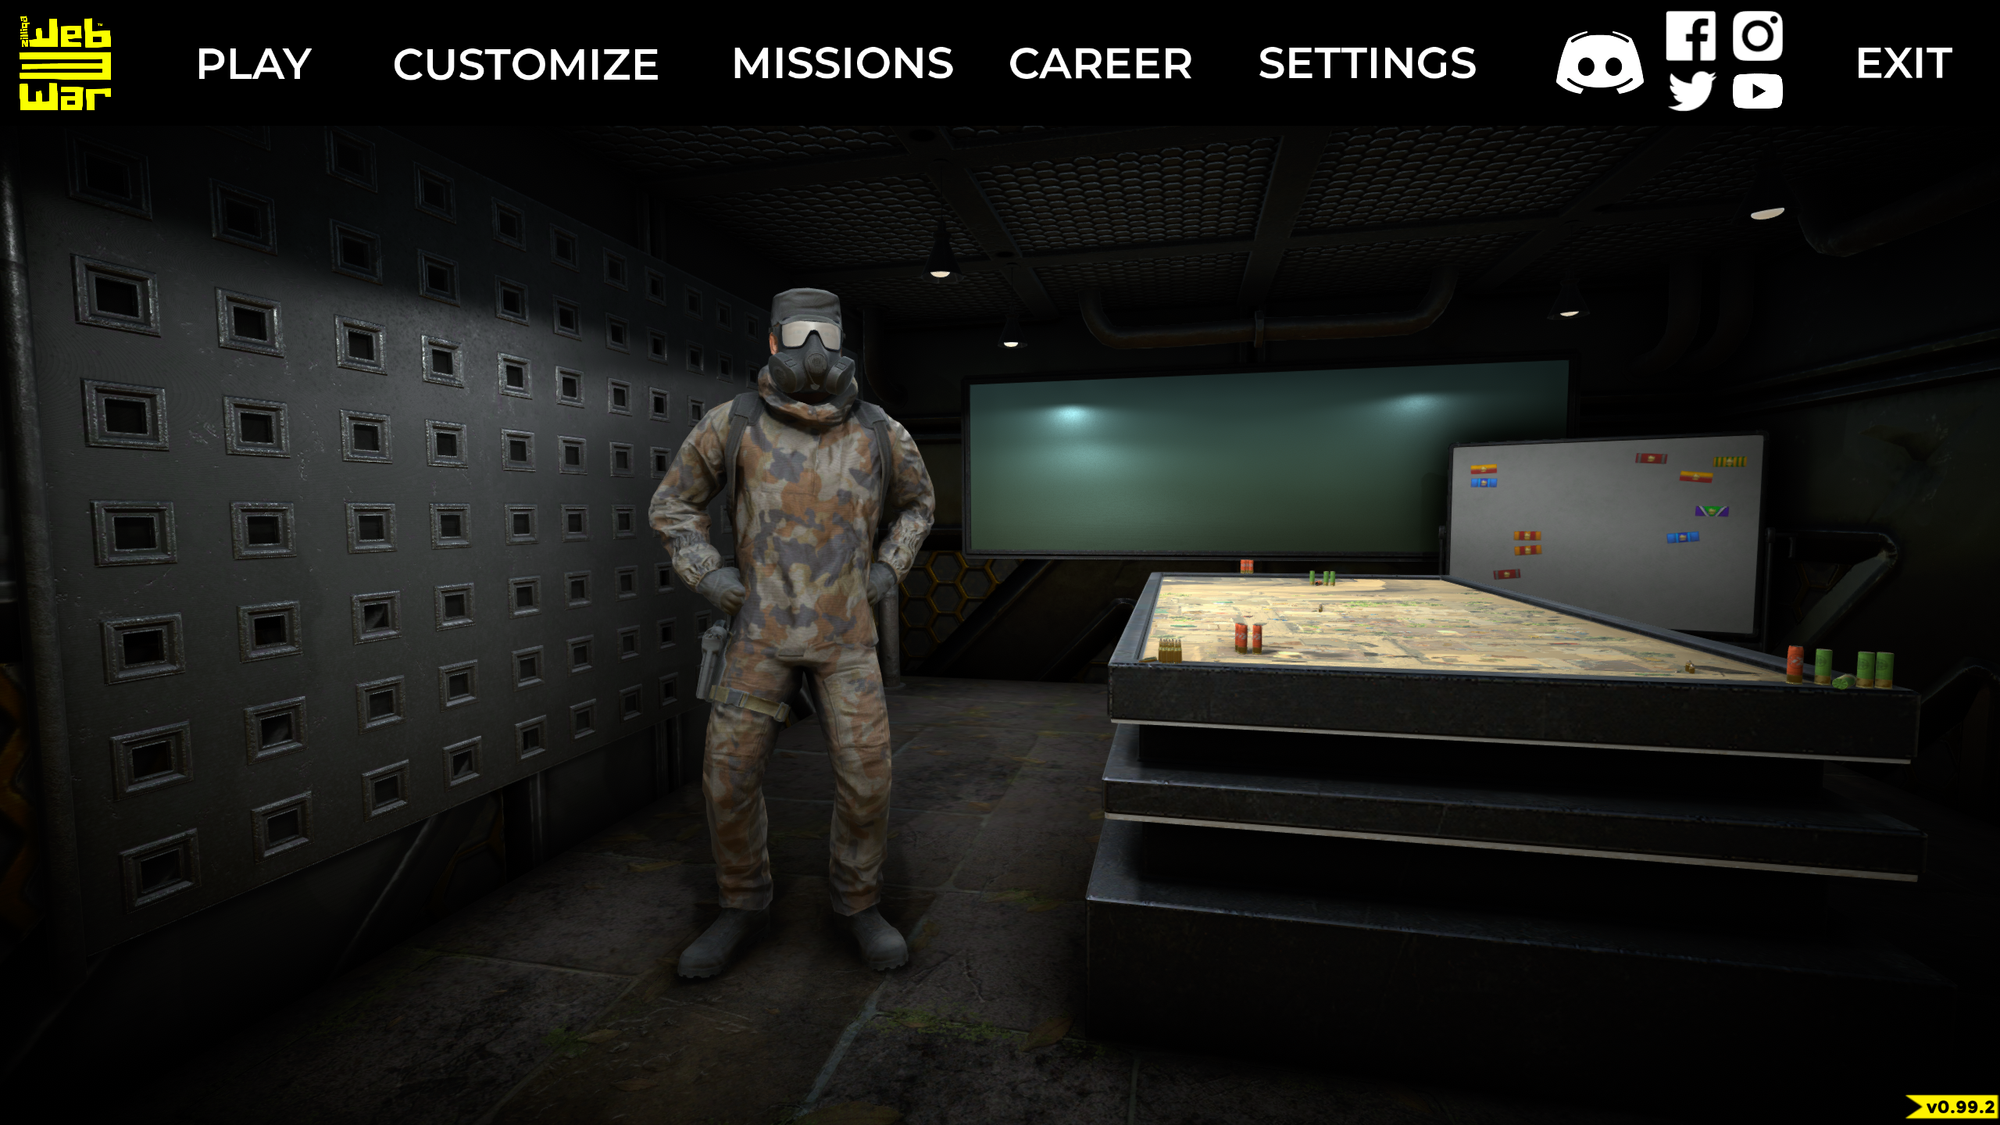
WEB3WAR will now open and prompt you to select an in-game nickname. Once you’ve done that, you’ll see the main menu.
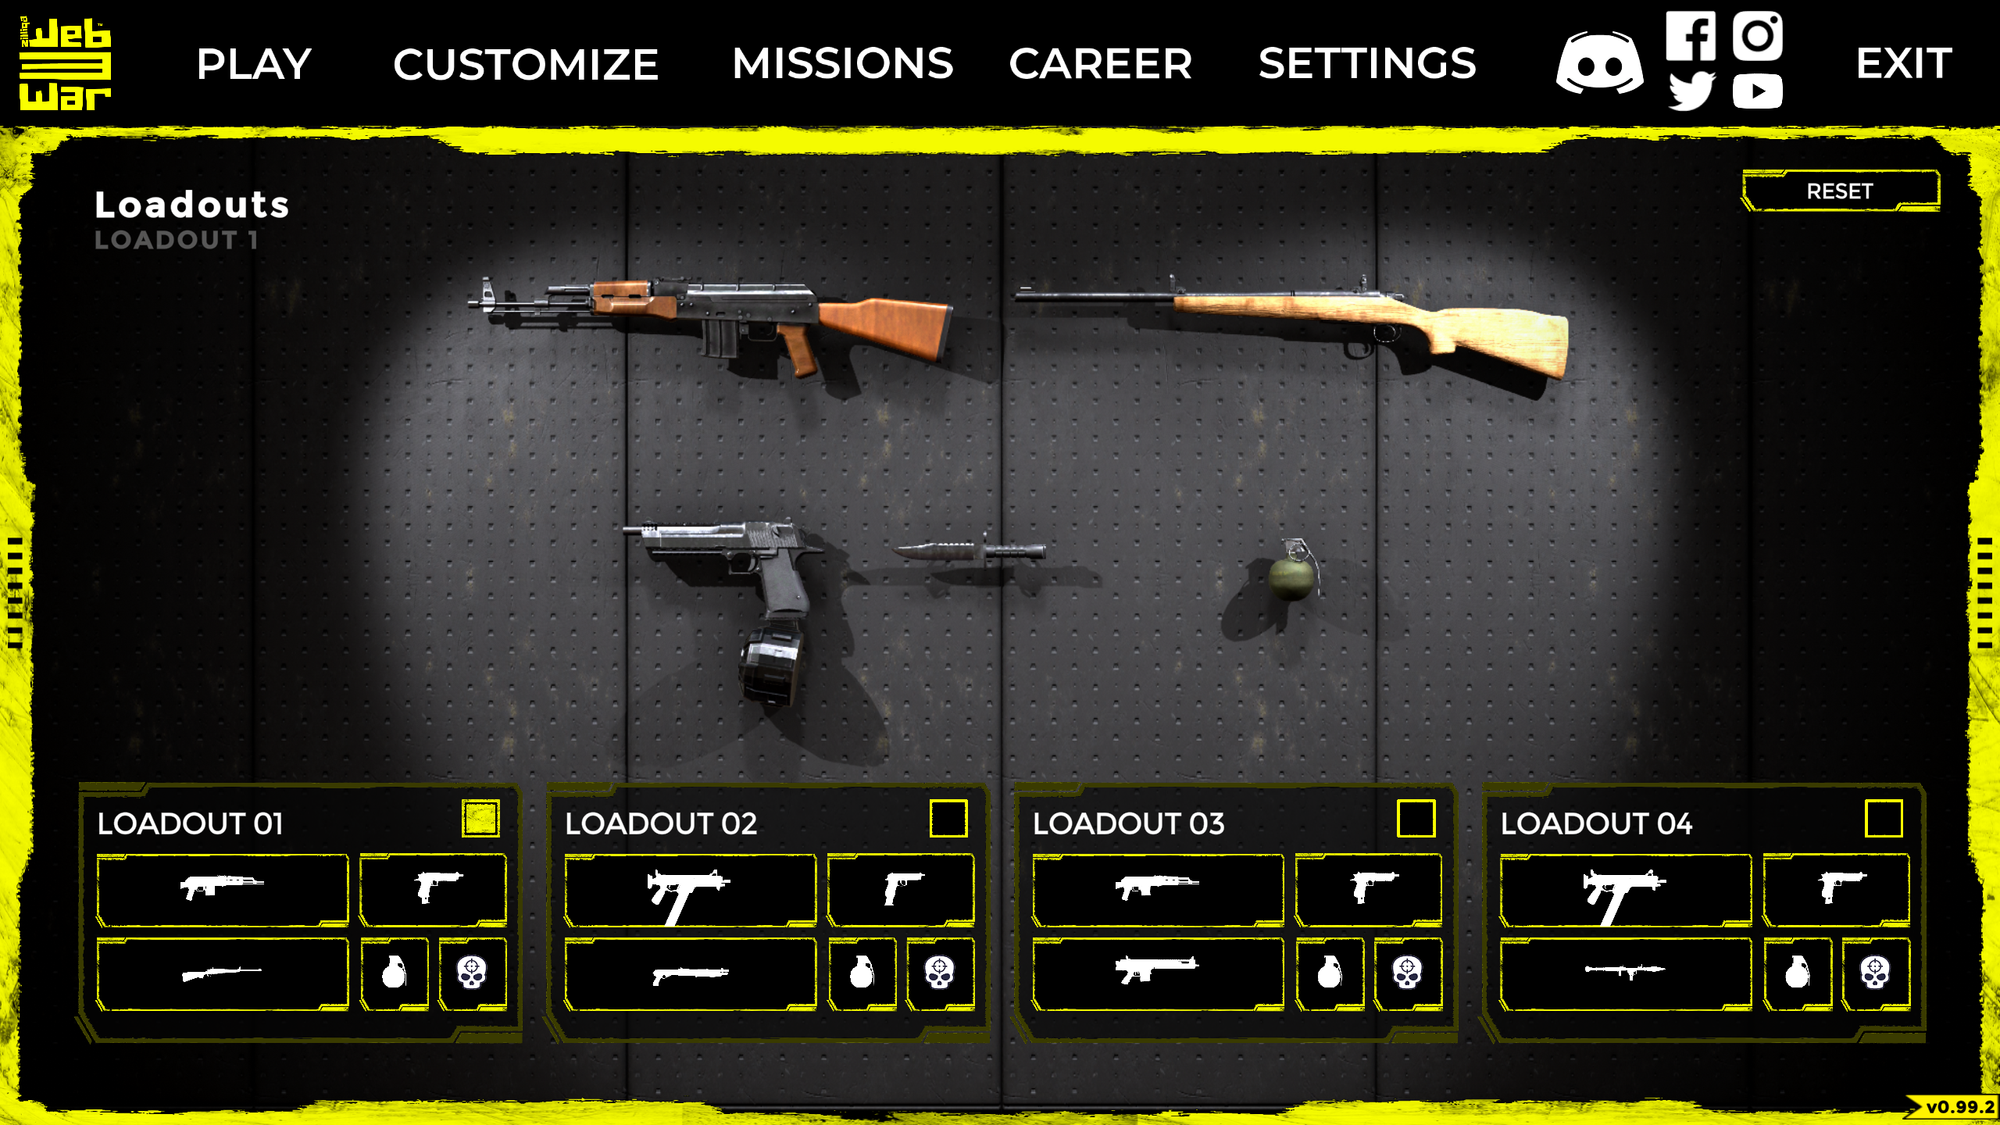
Click on Customize and Loadout to customise the four default loadouts with different weapons that complement your play style.
You can also tweak your weapon attachments and skins from the customisation menu, as well as change the cosmetic appearance of your Character and your Profile.
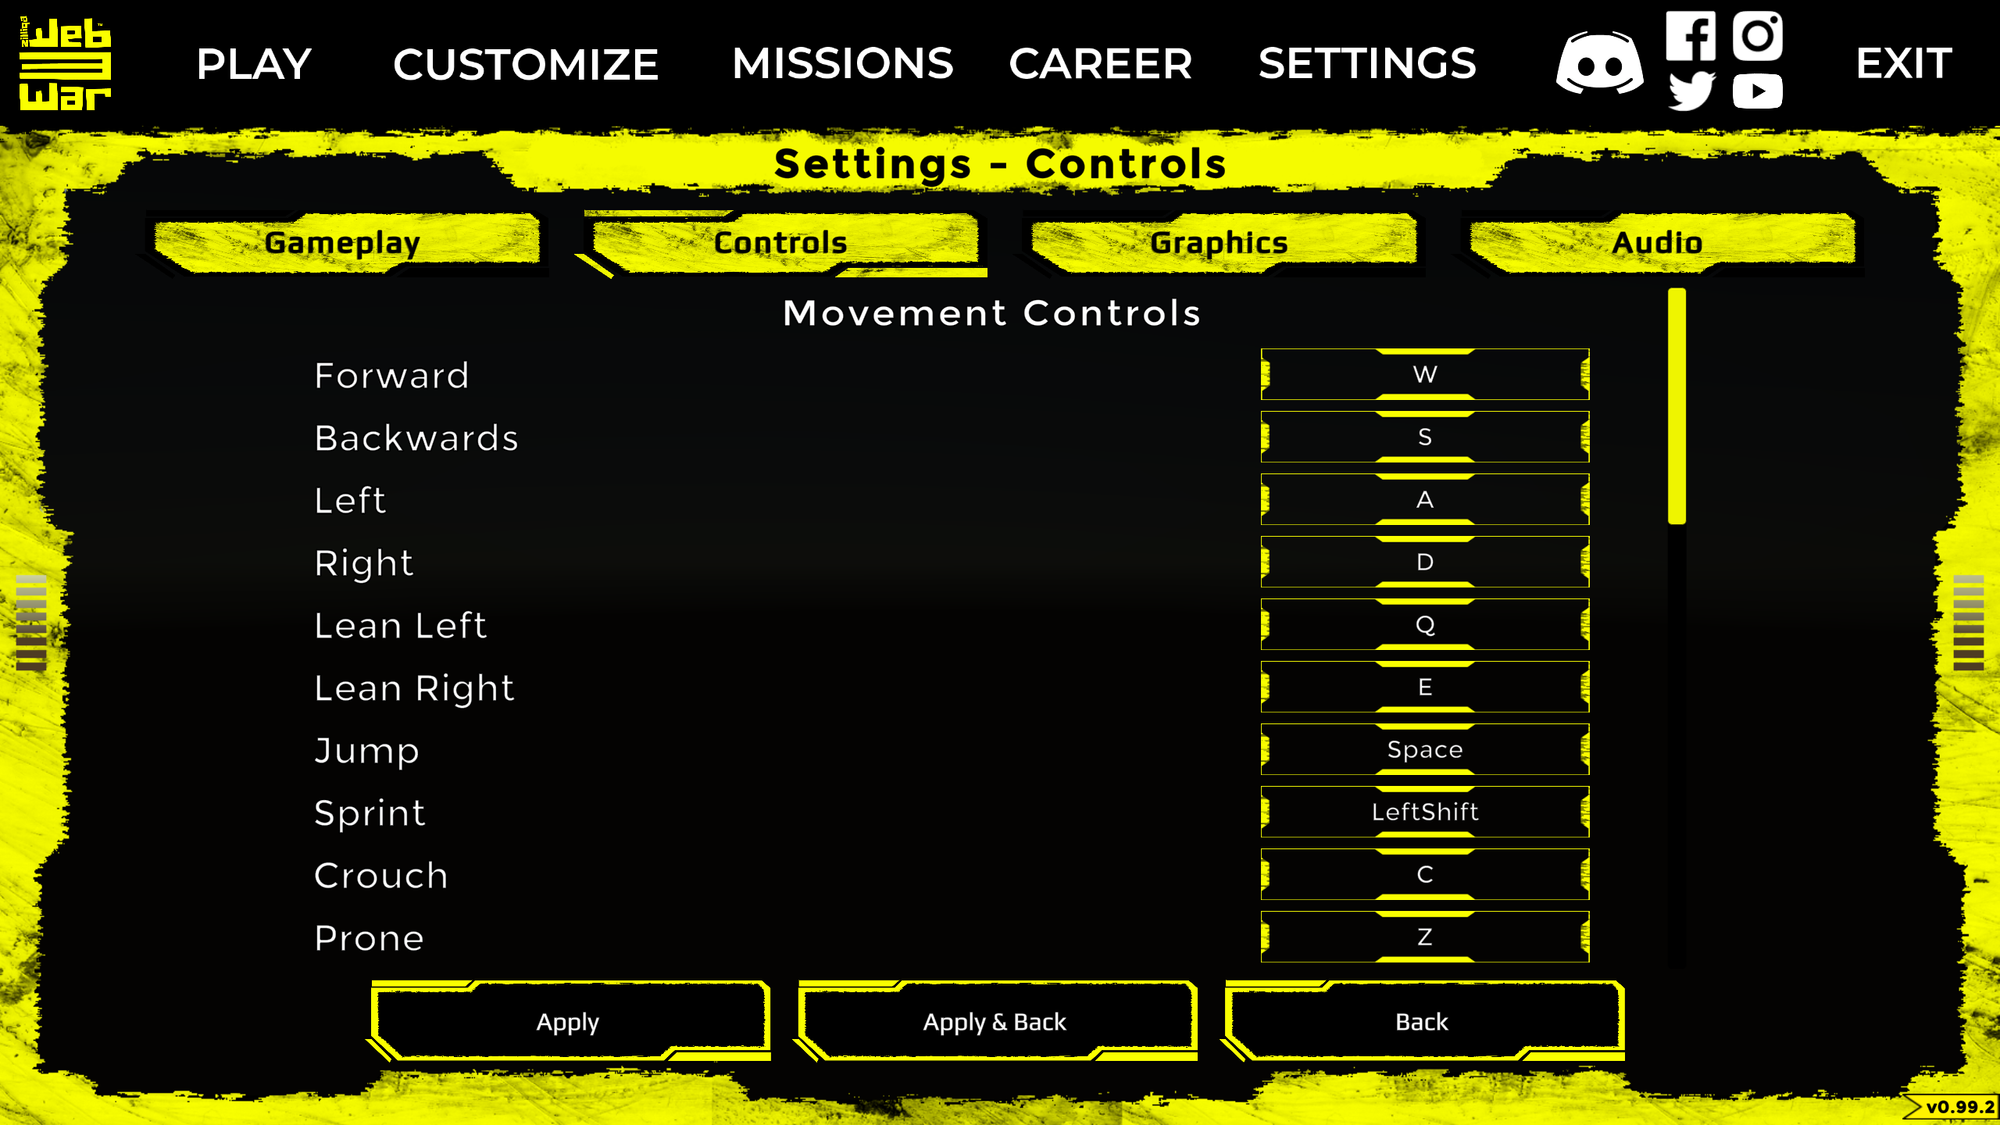
Navigate to the Settings menu and select Controls to familiarise yourself with the movement controls, or change them to suit your preferences. You can change settings such as screen resolution and texture quality in Graphics.
Hit Apply to save your changes.
Unlocks and Missions
Navigate to the Missions menu to view your current daily and weekly missions, each of which rewards bonus experience when completed.

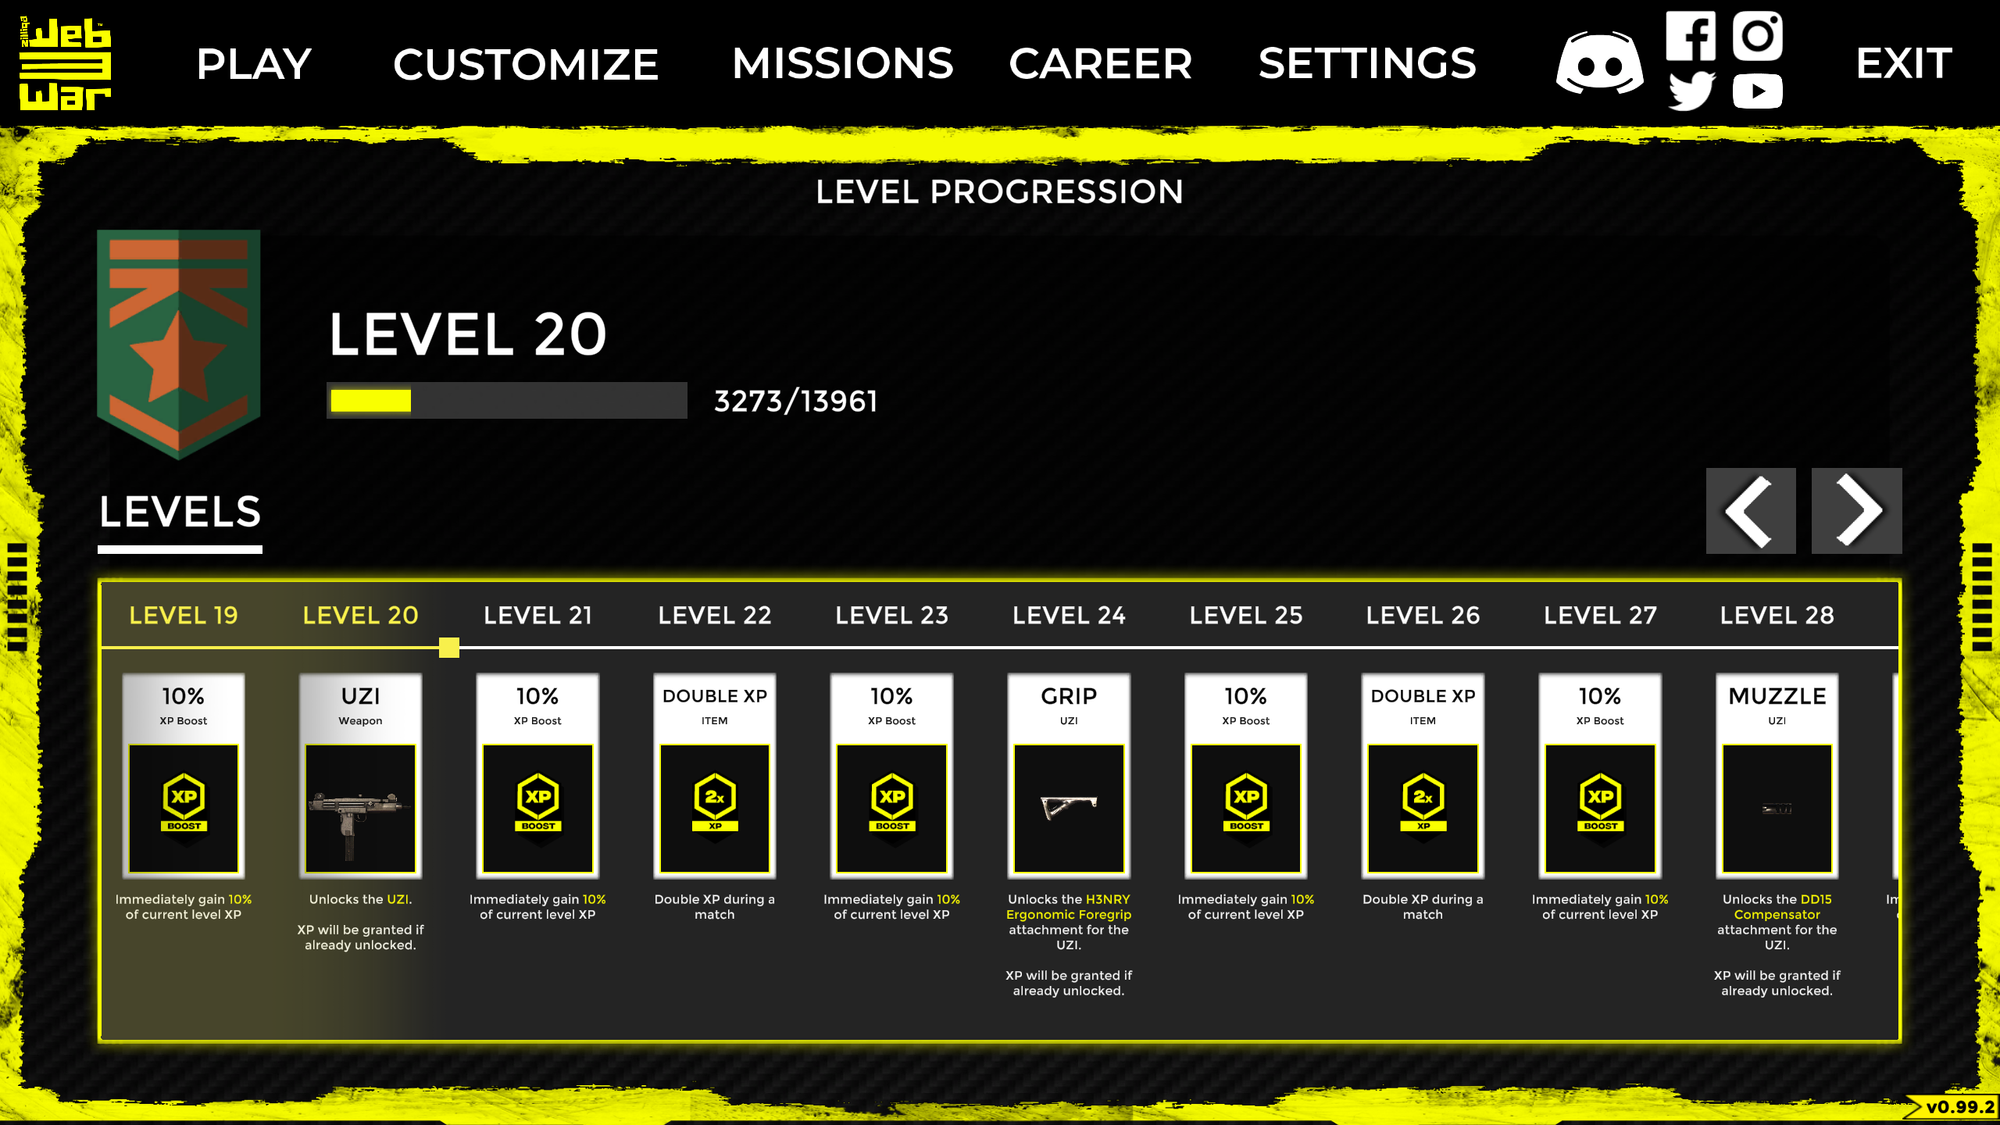
Navigate to the Career menu to view your Unlocks and Progress to check your player and weapon levels, as well as how close you are to unlocking new weapons, attachments and customisation options.
Under this menu, you are also able to view your account Stats and browse the number of Achievements you have earned through gameplay.
Match setup and launching the game
You’re now ready to head into battle! Click Play and then Multiplayer to search for or host games within your current server location. You can change this through the Change Server option under Gameplay in the Settings menu.
Select an open match or click Join Random Match to join a public game and dive right into the action.
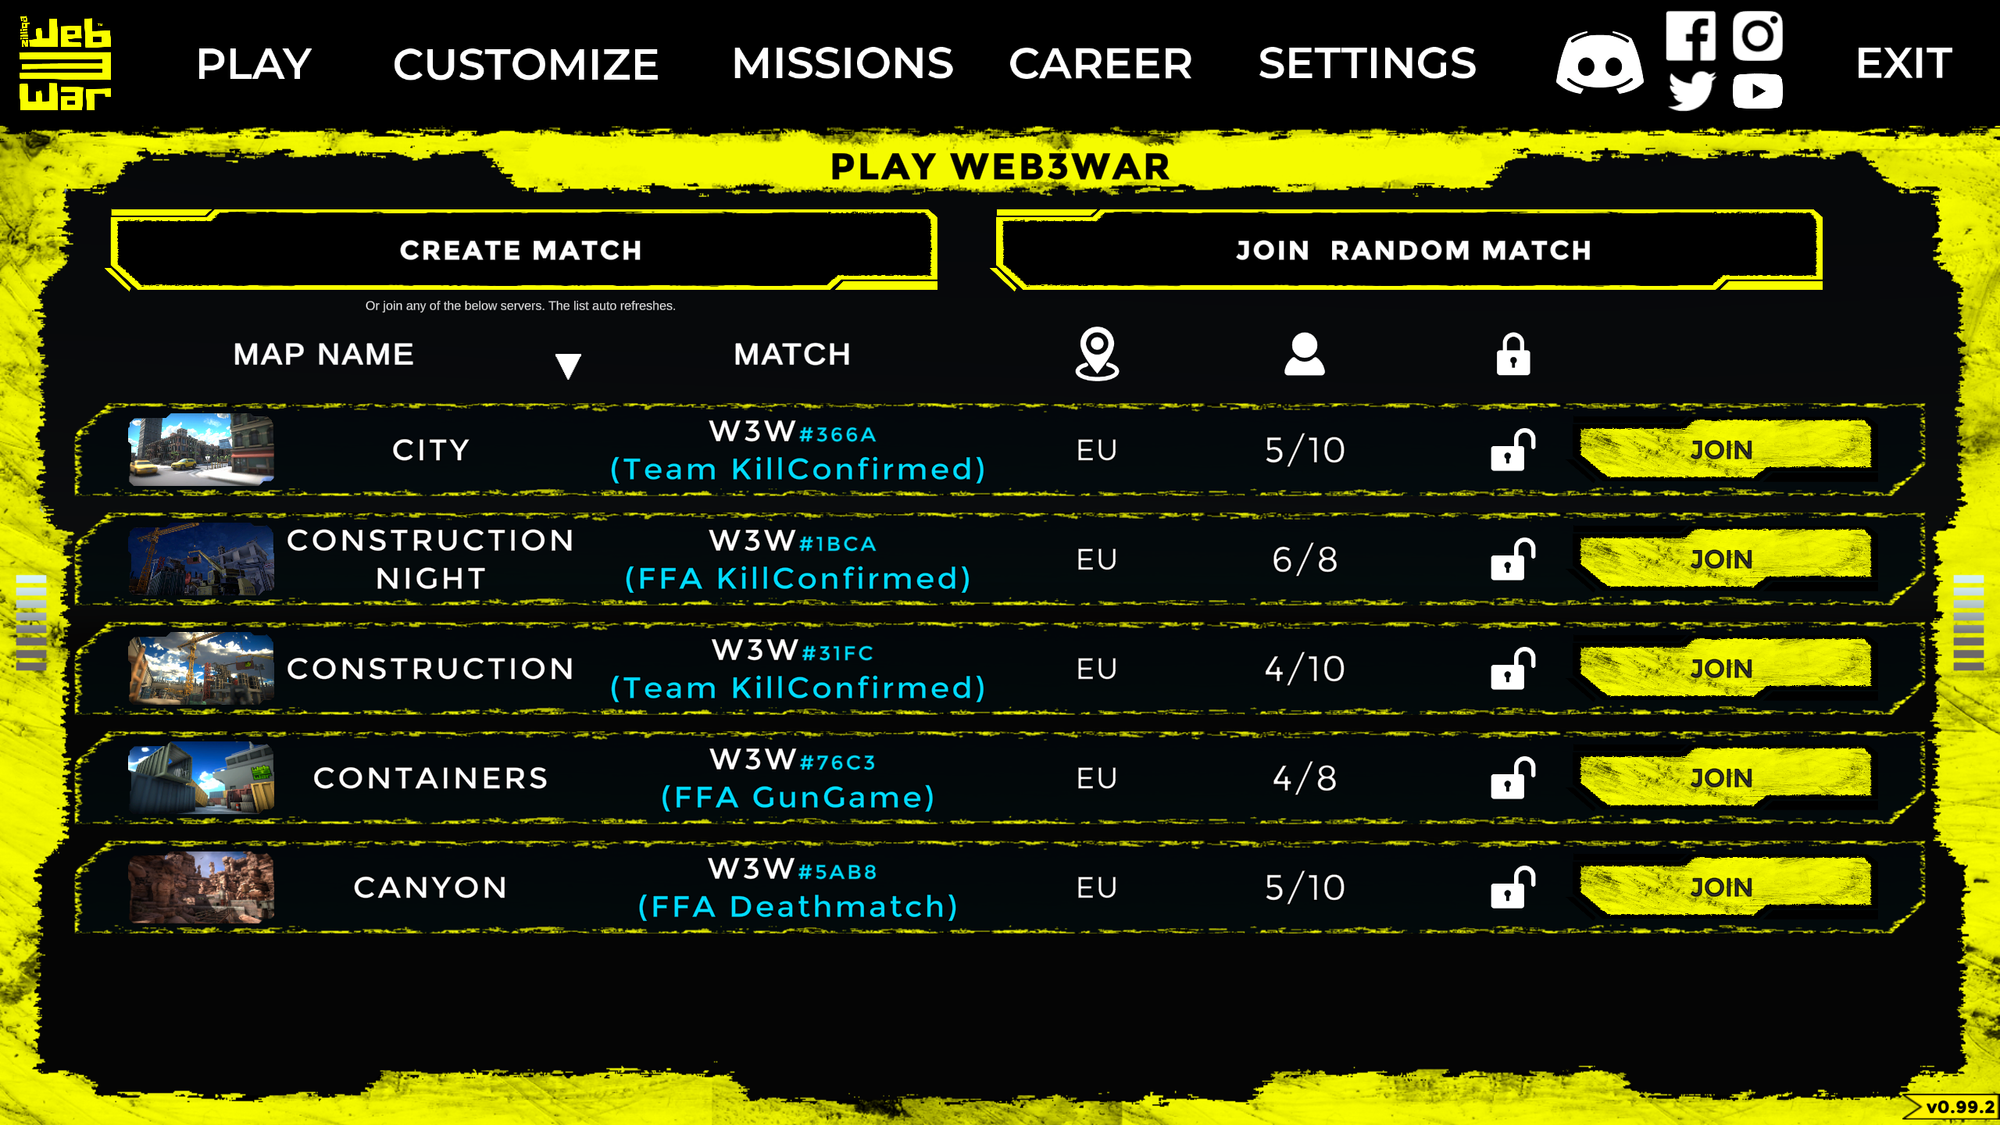
To create a match, select Create Match and choose the game mode you want to play. In Team, you join a group of players to battle against another group. Everyone is a target in Free For All.
In Deathmatch, you earn points for killing enemies. Kill Confirmed requires you to pick up tags that enemies drop upon death to increase your score.
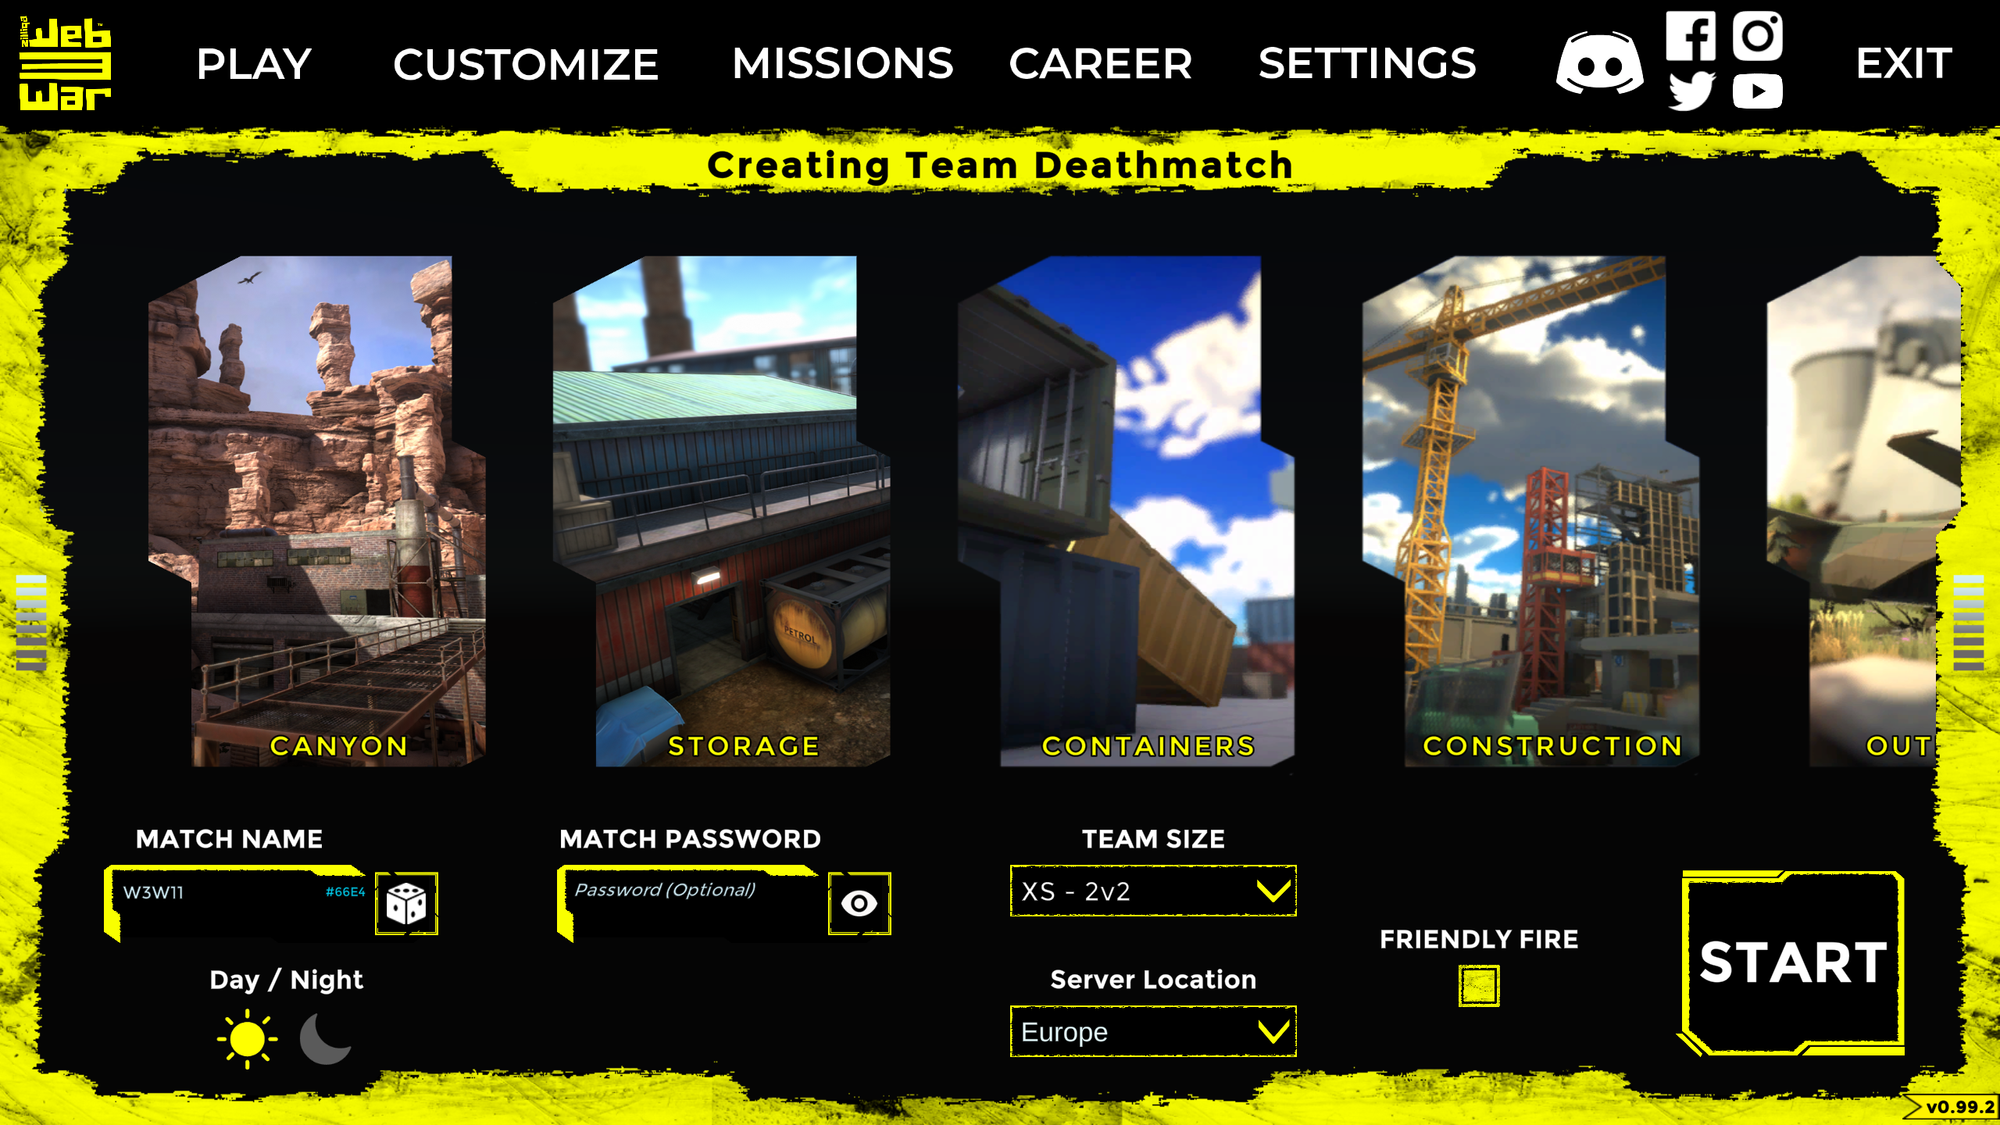
Next, click Create at the bottom-right of the screen.

At this screen, you can select the map you want to play and set up the match parameters. You can give your match a name and then set a password if you want it to be a closed session.
Click Start to begin the match. Good luck!
Bonus tips
You can create a single-player match without any other players to practise the game’s controls, test your loadouts, and quickly familiarise yourself with the different maps. Simply create a match with a password to prevent other players from joining and jump into the game.
WEB3WAR also includes a Training game mode under the Play menu, which is the perfect place to test your skills against the clock and hone your performance.